
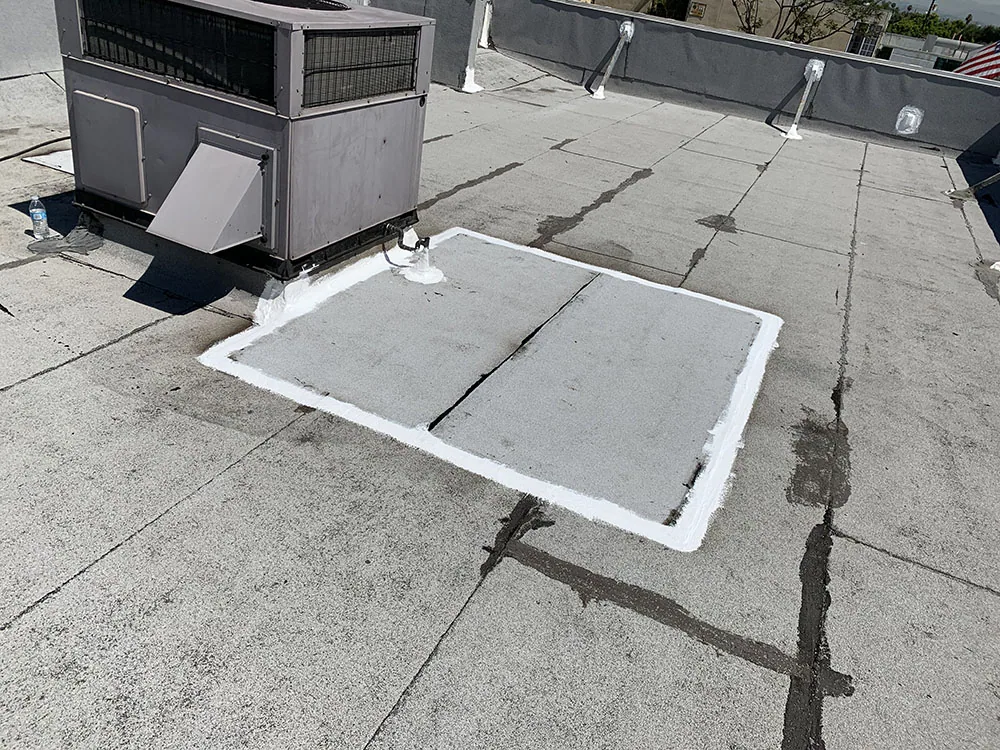
Flashing failure repair in North Las Vegas, NV: curbs, parapets, pipes and skylights diagnosed by cause, then rebuilt with compatible details.
A bead of fresh sealant at the base of a rooftop curb tells you someone has been here before, and it raises the question that decides the repair: why did the flashing fail the first time? On commercial roofs in North Las Vegas, NV, flashings are the details where the roof meets a wall, a curb, a pipe or a skylight, and they are where water most often finds its way in. Our inspection tries to establish whether the failure came from movement, material, installation, adhesion or water running behind the detail, since a patch that ignores the cause tends to open again.
In a hot, sunny desert, flashings take sun all year, then summer monsoon storms and the wind of spring and fall test every lap and termination. Heat cycles, wind-driven rain and blowing dust all work on terminations, but they are regional exposure, not a diagnosis. The diagnosis comes from the flashing: its height, its attachment, its sealant and the surface it meets.
Symptoms: read what the flashing is showing
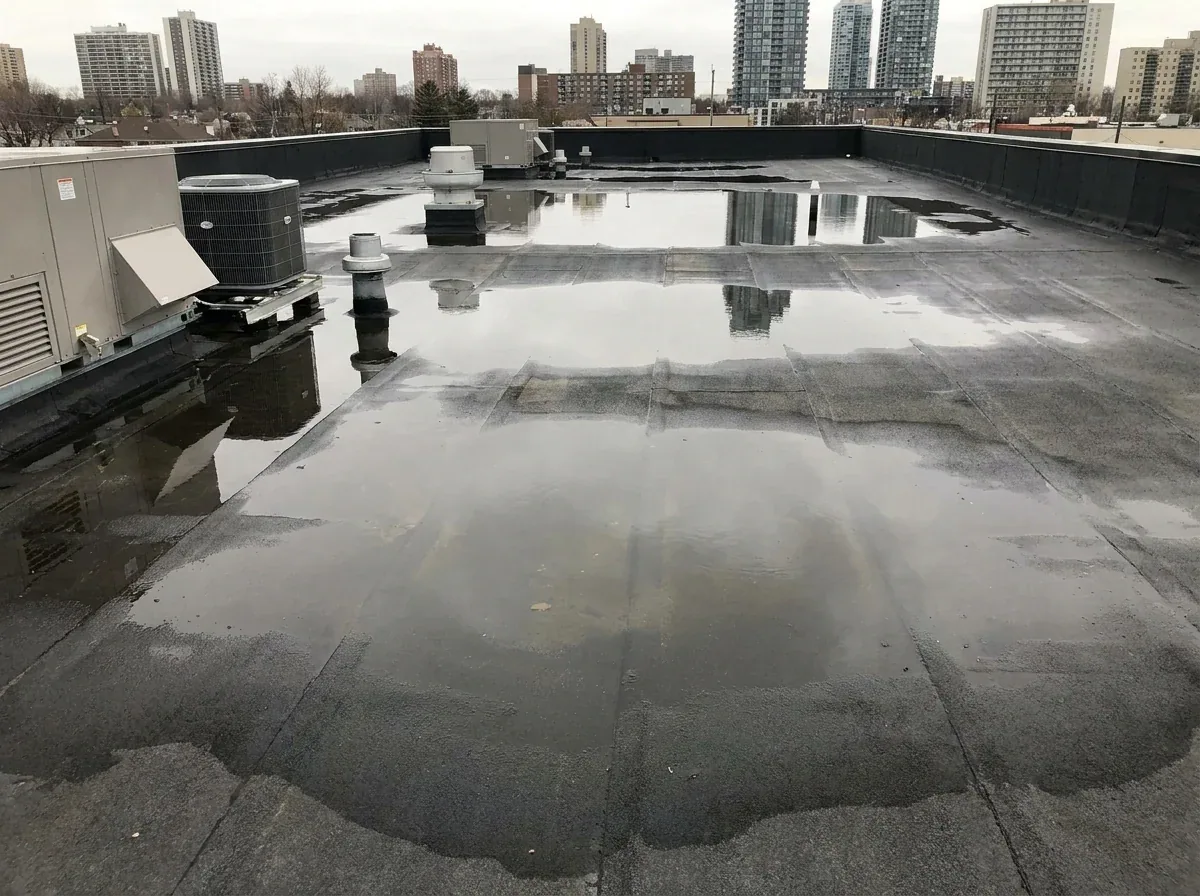
Failed flashing leaves specific marks. Gaps at the top of a wall flashing, hardened and cracked sealant, a membrane that has pulled down from a vertical surface, open corner patches, rust stains from a termination bar and water tracks below a curb all point to different problems. A flashing that has shrunk away from a wall suggests membrane shrinkage or loss of adhesion; one that has split at a corner suggests movement.
We probe each detail, press on edges to test bond and photograph the condition with a position mark. Interior reports help too: a stain that appears at the wall below a parapet but not in the middle of the room points to the wall flashing, while a stain under a rooftop unit points to the curb. The marked roof plan connects each interior symptom to the detail above it.
Commercial Roofing Questions
Is fresh sealant a repair or a delay?
It is a delay unless the cause is addressed. Sealant helps at small gaps in a detail that is otherwise sound. If the flashing has pulled away, lost adhesion or been set too low, sealant buys little time.
How do we find which flashing is leaking?
Map the interior stain, inspect the details upslope and test with water where the roof allows. We start with curbs, walls and penetrations in the likely path and confirm the entry before repairing.
Can a bad curb be fixed without replacing the unit?
Often, yes. The flashing can be removed and rebuilt around the unit, sometimes with the unit lifted briefly. If the curb is too low or damaged, the unit may need to be raised, which requires mechanical coordination.
Why do repairs fail at the same corner?
Corners concentrate movement and are hard to form. If a corner patch fails again, the detail probably needs reinforcement or a different method, not another layer of the same material.
Do you respond to flashing leaks at night?
Round-the-clock emergency service includes holidays. Crews can seal the detail temporarily, protect the space below and schedule permanent repair.
What should be recorded after a flashing repair?
The detail location, the date, the material and method used and a photograph of the finished work. That entry lets a later inspector compare a new leak with the earlier repair and avoid repeating a fix that did not hold.
More Roofing Detail
COMMERCIAL ROOFING IN NORTH LAS VEGAS, NEVADA
Curbs and equipment: check the base and the cap
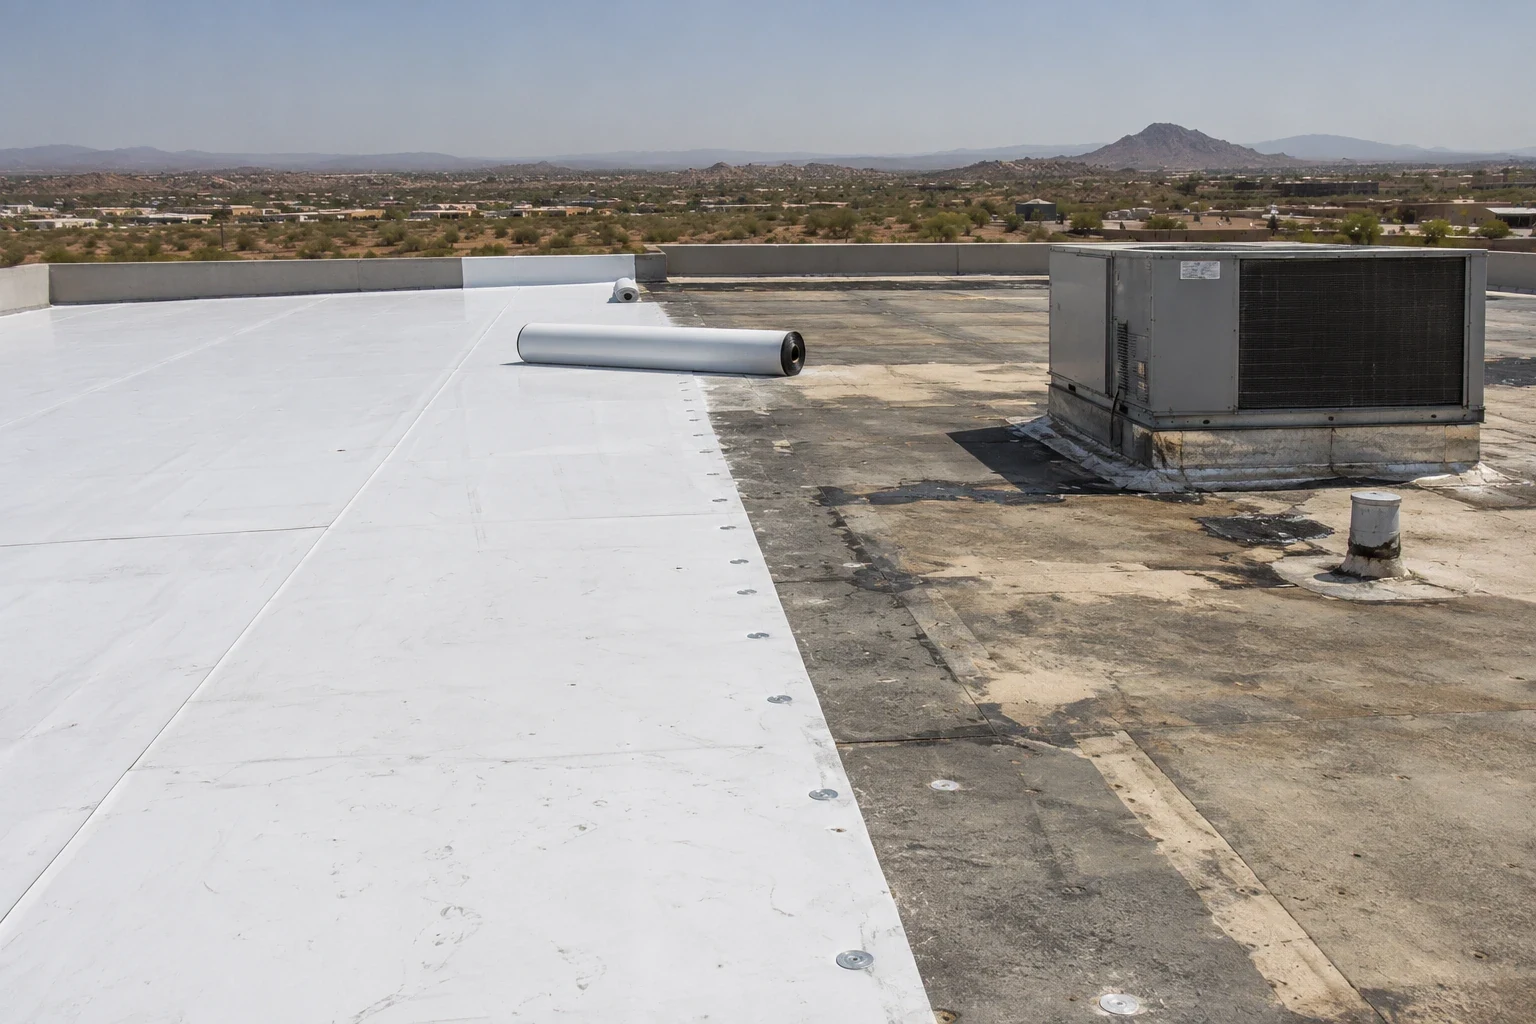
Rooftop equipment curbs hold units above the roof and carry the flashing that seals the base. Common problems include a curb too low for the insulation thickness, flashing that was not carried high enough, cracked sealant at corners and a unit that has shifted and stressed the flashing. Service traffic adds wear.
We check the curb height, the flashing height above the roof surface, the termination, the corners and the cap or counterflashing. A rooftop equipment curb and support scope can reflash the curb with new material, raise the unit above ponding and add a protected walk path. Where several curbs share the same failure, the report says so, since it suggests a pattern in the original details that a single patch will not solve.
Walls and parapets: follow the water behind the termination
Wall flashings fail where water enters behind the termination bar, where counterflashing has loosened or where the wall itself lets water into the assembly. Stucco, masonry and metal panels each need a different termination, and the flashing has to match the wall material. A bead of sealant at the top is a maintenance item, while a missing or loose counterflashing is a repair.
Parapet caps and coping are also part of this system, and a displaced cap lets water run down the wall. The edge metal, coping and gutter work restores those components, and the termination is reset against a sound substrate. If the wall behind is damaged, the roofing repair waits for the wall repair, and we coordinate the two so water does not simply move to a new path.
Pipes, vents and skylights: choose the right boot or curb
Pipe boots and vent flashings fail from sun exposure, movement and poor fit. A cracked rubber boot is an obvious fault, but a boot that is intact and has slipped down the pipe can leak just as readily. Skylight flashings combine glazing movement with membrane transitions, and the seals dry out in the sun.
For a pipe, we replace the boot or install a pre-molded or field-formed flashing compatible with the membrane. For a skylight, skylight and penetration flashing work resets the curb flashing, replaces failed seals and checks the glazing for cracks. We also look for penetrations that are no longer in use, which can be removed and sealed instead of maintained. A membrane puncture repair may be needed where abandoned penetrations left holes.
Materials: match the repair to the membrane
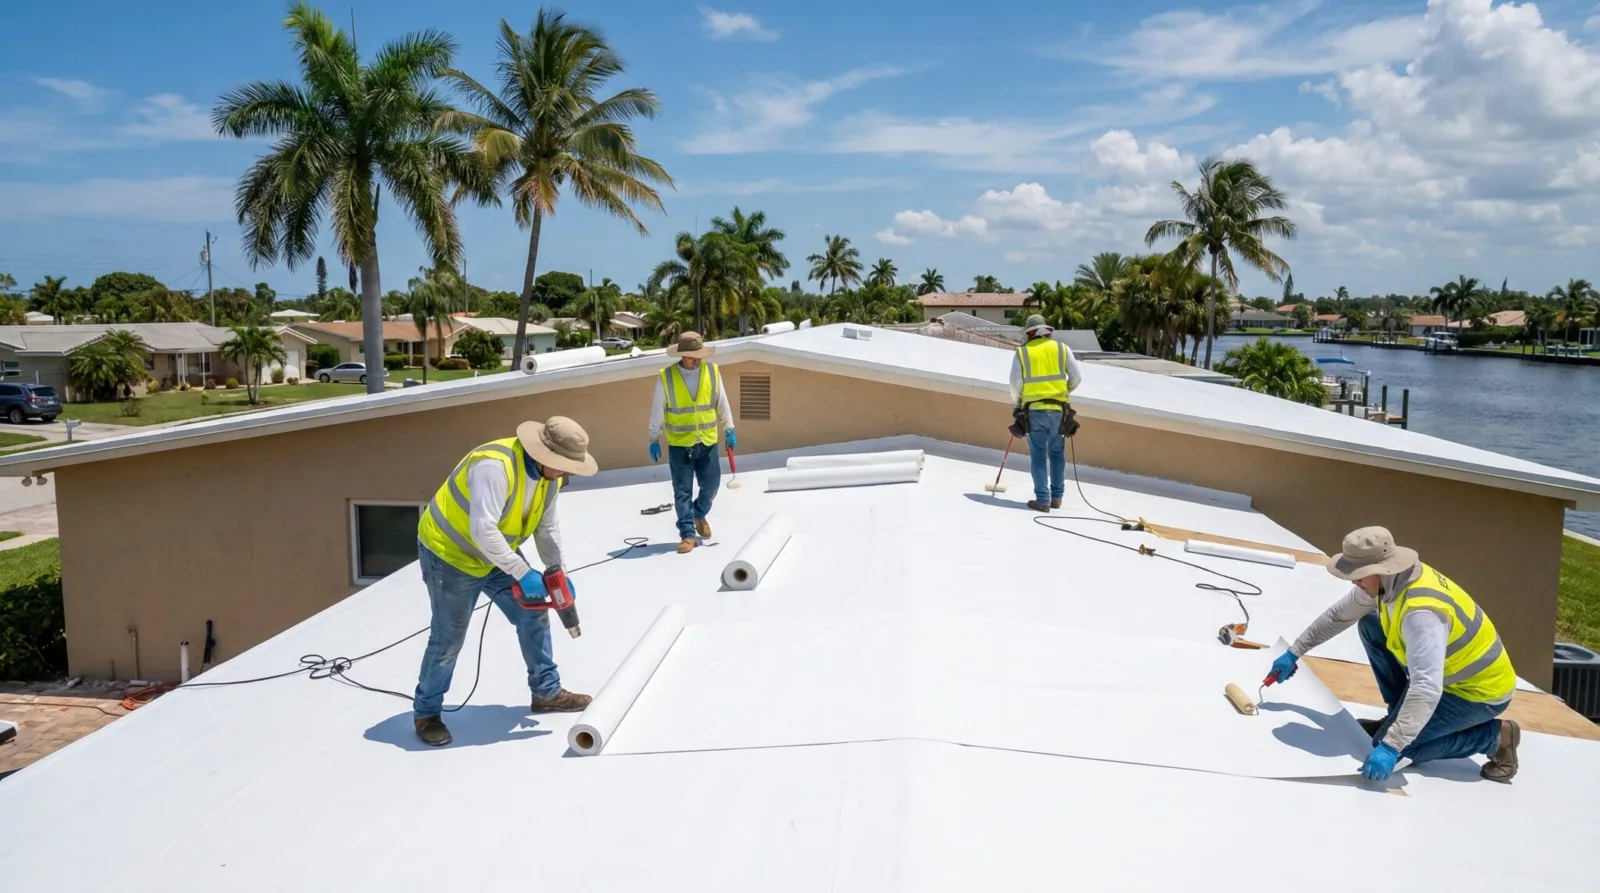
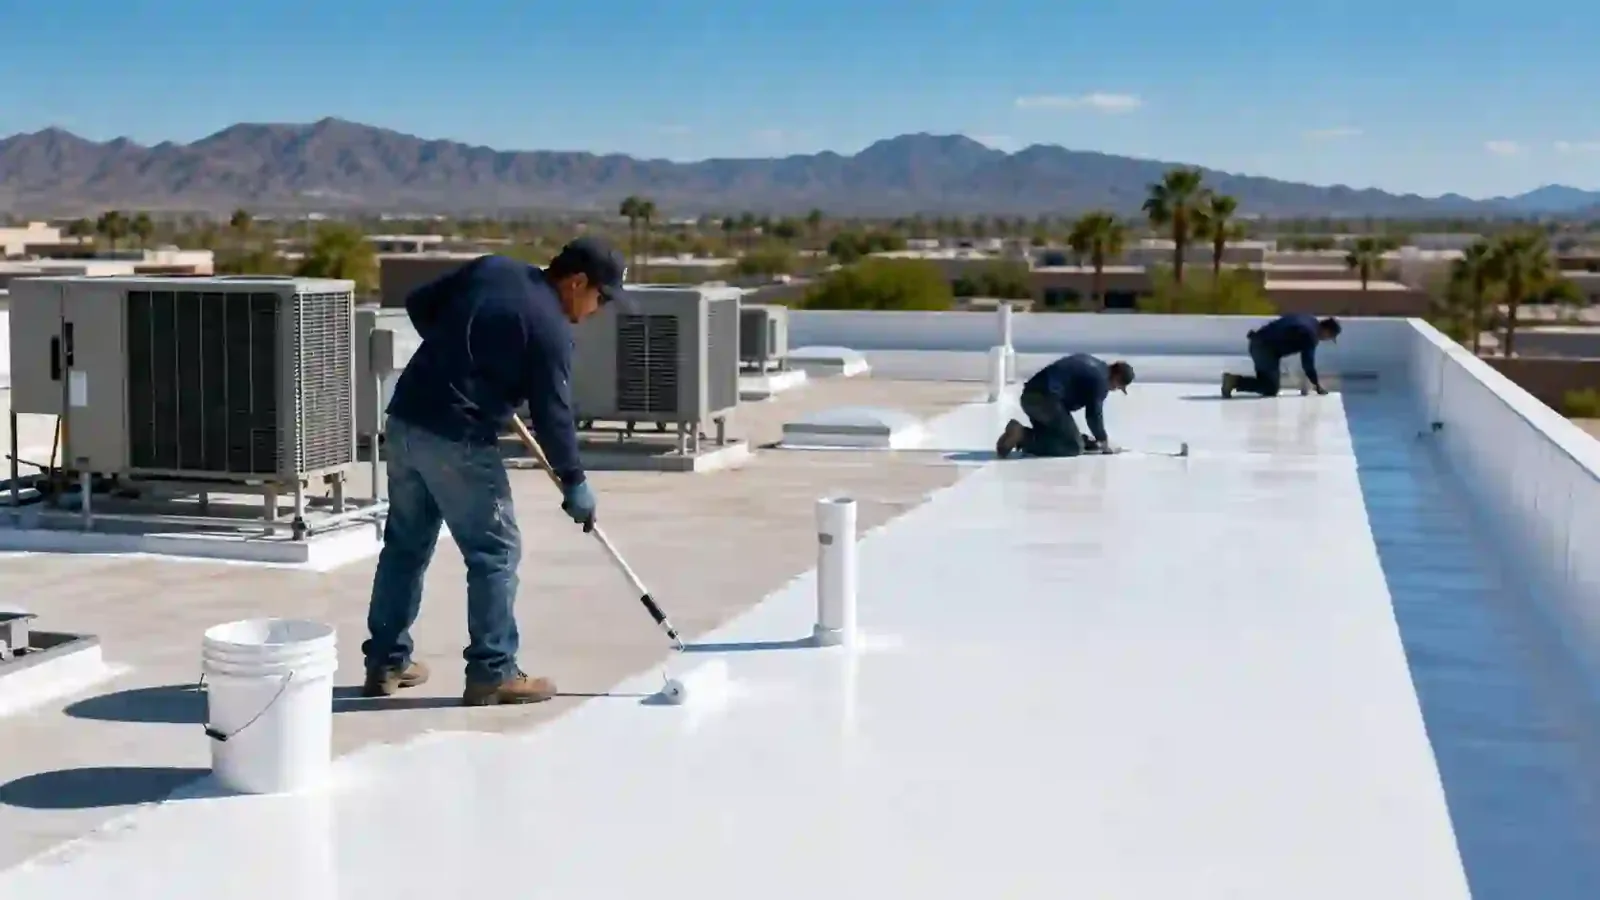
Flashing materials must bond to the roof they meet. Adhesive that works on one membrane can fail on another, and sealants vary in how well they tolerate heat and movement. We identify the membrane type and its age, test adhesion where needed and choose a repair material that suits both. Where reinforcement fabric or a liquid-applied flashing system is appropriate, we specify it.
In the long run, the best repair is one that addresses movement. A detail with room to flex, set on a clean surface, outlasts a heavy layer of sealant on a dirty one. For owners in planning areas such as North 5th Transit Corridor and Downtown North Las Vegas, the same method applies: identify the system, test the bond and repair the cause. A seam failure repair often follows where flashing laps have opened with the field seam.
Cost and timing: count the details, not the roof
Flashing repair is priced by the detail. The number of curbs, penetrations and wall lengths drives cost, along with their height, access and condition. A sealant maintenance pass is the least expensive option, local reflashing is moderate and a full replacement of flashings across a roof is the largest. We list each detail on the roof plan with the recommended action, so the owner can choose how much to do now.
Timing depends on weather, since adhesives and sealants need dry, moderate conditions to cure. We schedule around monsoon weeks and plan hot-weather start times. If a leak is active, temporary protection comes first, and permanent repair follows within a short window the owner can plan.
Records matter here as well. After each repair, we mark the detail on the roof sketch with the date, the material and the method, so the next inspector can see whether a leak at that spot is a repeat or something new. A short log kept with the roof file turns scattered patches into a history that supports the next decision.
Send the leak location and a photo of the detail
Share roof plans, the date the leak started and photographs of the curb, wall or penetration you suspect. We will trace the water path and repair the cause.